Unlocking Summer's Sweet Secret: The Magic of Homemade Cherry Jam Preserves
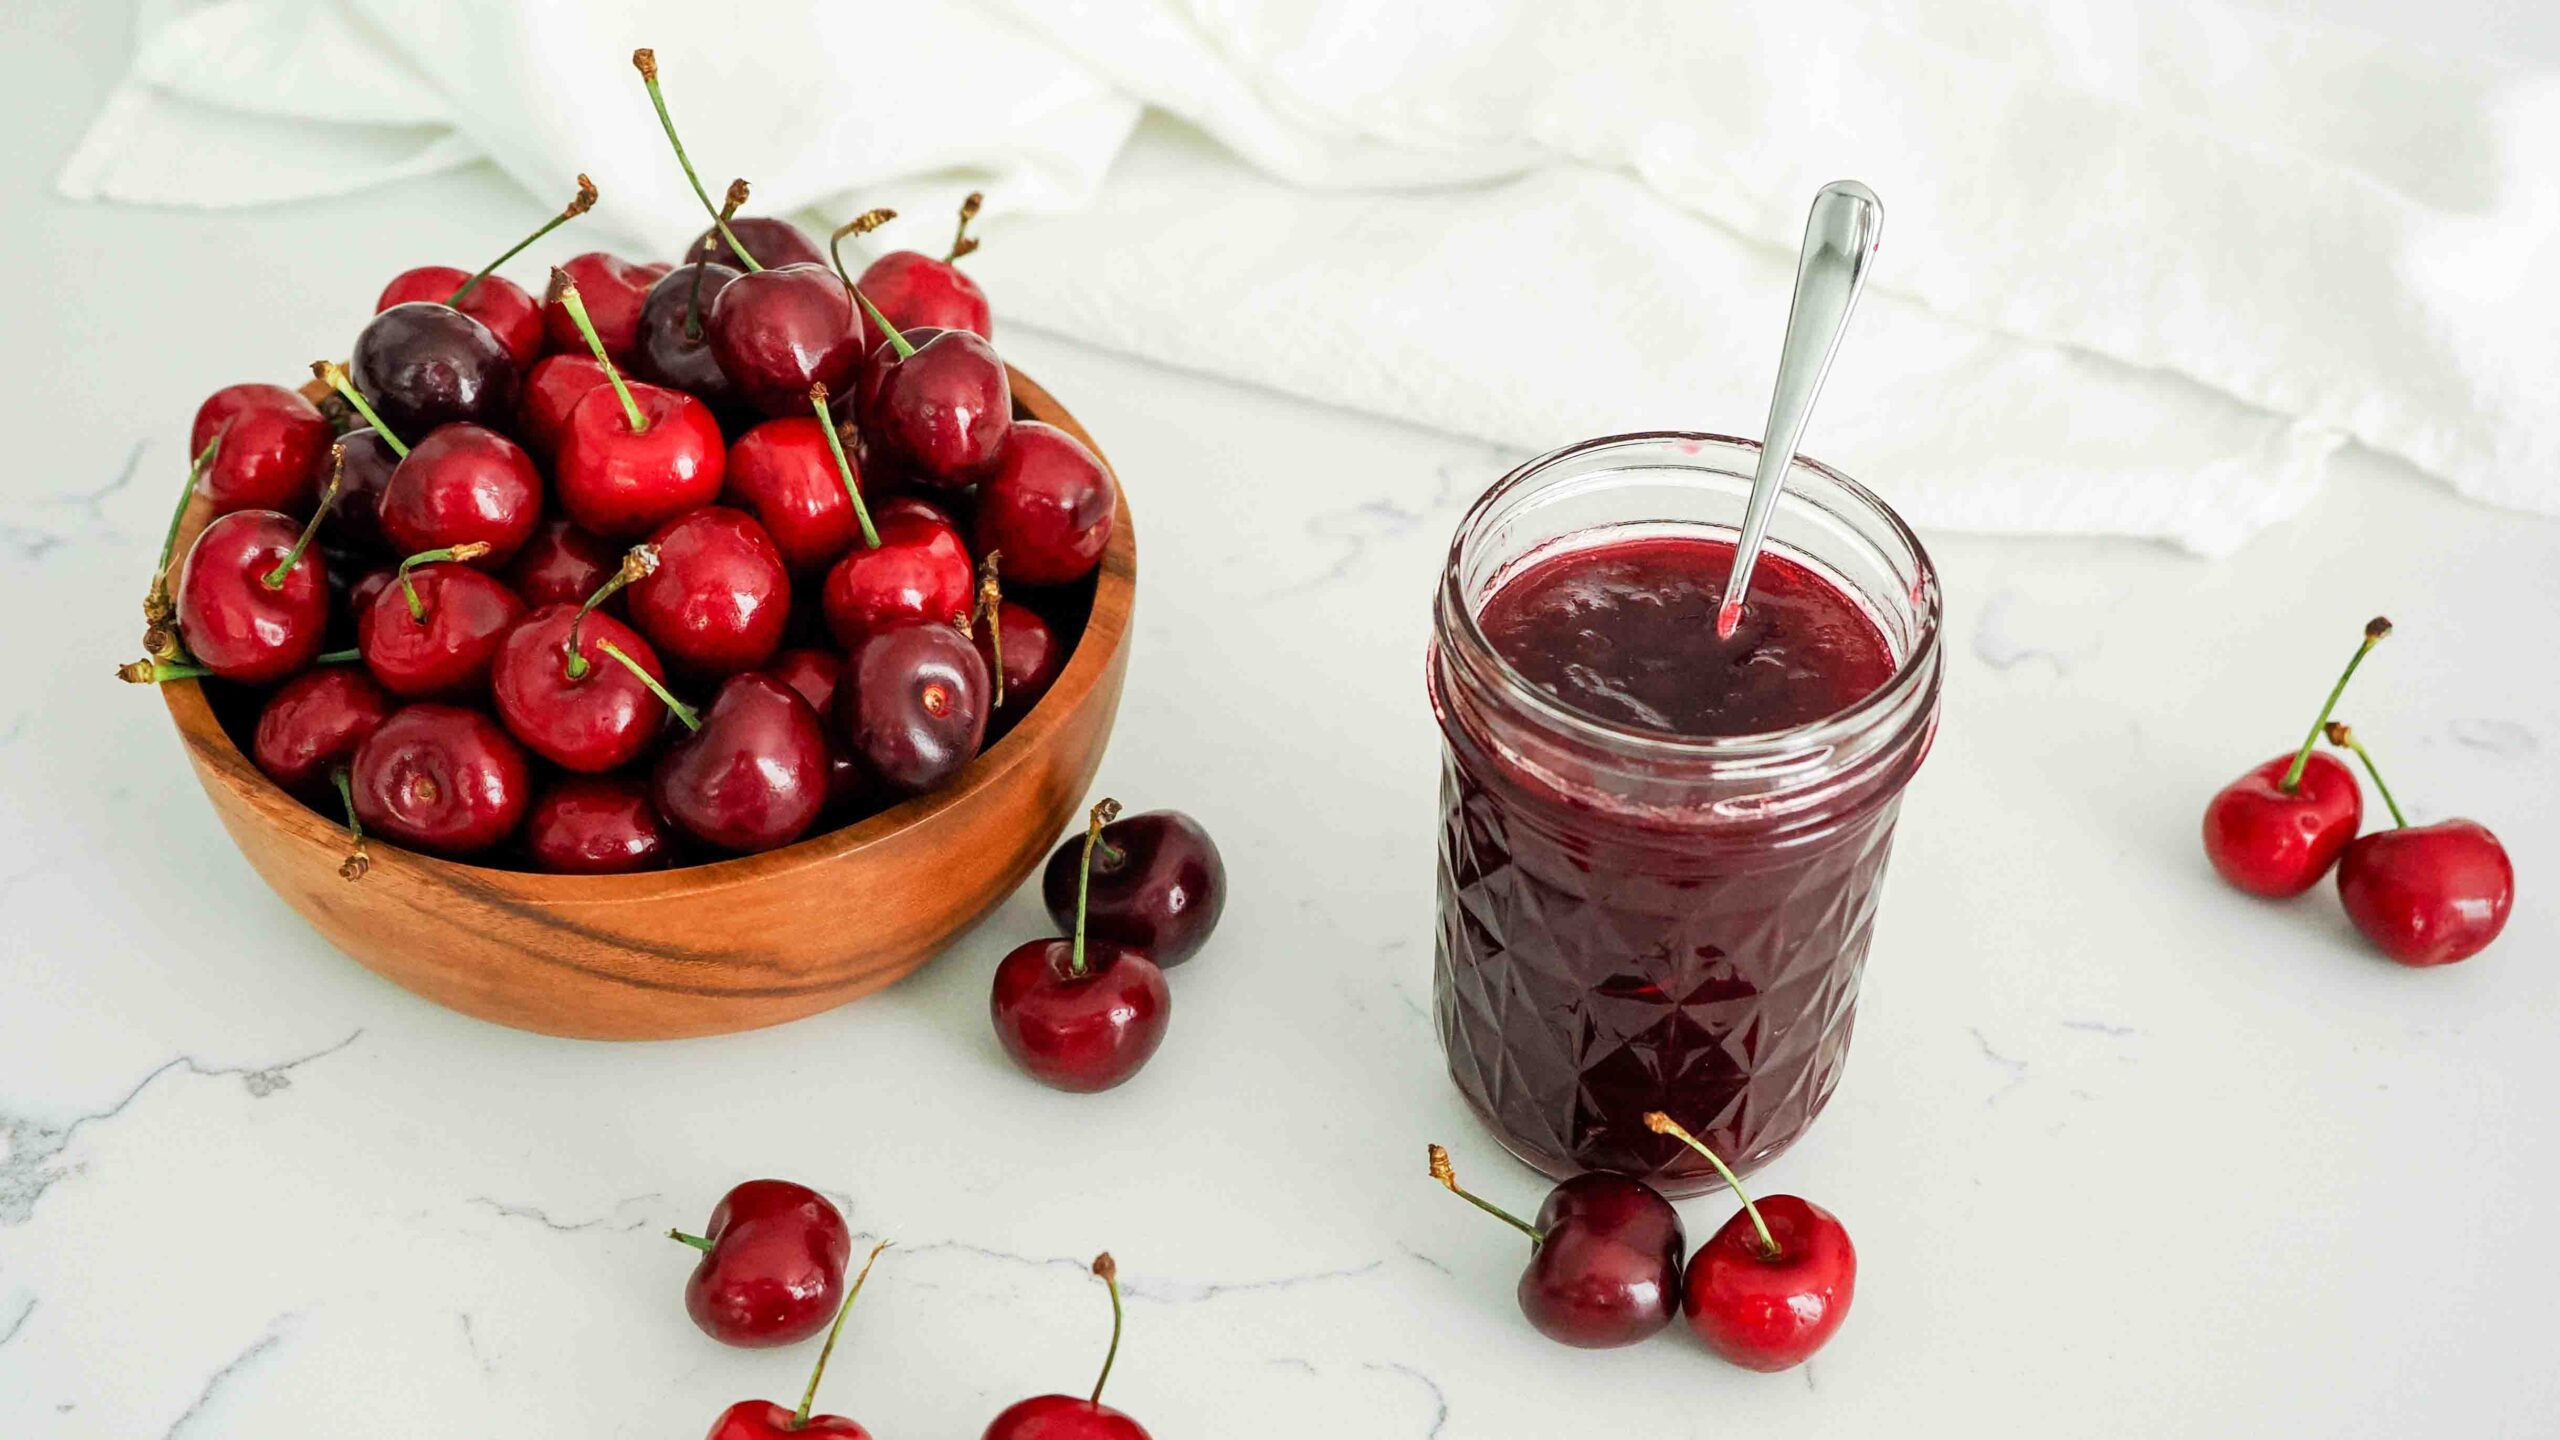
Imagine a spoonful of pure sunshine, a burst of vibrant fruitiness that transports you straight back to the heart of summer, no matter the season. That’s the unparalleled joy of opening a jar of homemade
cherry jam preserves. Far more than just a spread, it’s a tangible connection to nature's bounty, a testament to simple pleasures, and, surprisingly, a profound act of self-care. While countless options line grocery store shelves, nothing truly compares to the deep, nuanced flavor and vibrant ruby hue of jam crafted in your own kitchen. It's an invitation to slow down, savor the process, and reap the delicious rewards.
Why Homemade Cherry Jam Reigns Supreme
The moment you taste homemade cherry jam, the difference is undeniable. Store-bought versions often rely on high-fructose corn syrup, artificial flavors, and thickeners, resulting in a generic sweetness that lacks the authentic punch of fresh fruit. When you make it yourself, you control every ingredient. You choose the ripest, most flavorful cherries, adjust the sugar to your preference, and decide whether to include natural pectin or let the fruit's own pectin do the work. This control translates into a superior product: a jam bursting with genuine cherry essence, a delightful balance of sweet and tart, and a texture that's smooth, glossy, and perfectly spreadable. It elevates the mundane to the magnificent, transforming a simple piece of toast into a gourmet experience. Indeed, once you've experienced the rich, unadulterated flavor of homemade
cherry jam preserves, you’ll understand why there's no going back.
More Than a Recipe: A Journey of Self-Care and Culinary Roots
In our fast-paced world, finding moments of tranquility and creative expression is invaluable. Making
cherry jam preserves offers just that. It's a weekend project that feels less like a chore and more like a therapeutic ritual. The gentle hum of the kitchen, the sweet aroma of simmering cherries, the rhythmic stirring – these elements combine to create an atmosphere of calm and focus. This isn't just about food; it's about the experience, the mindfulness, and the deep satisfaction of creating something beautiful and delicious with your own hands.
The Meditative Art of Preserving
There’s a unique meditative quality to the process of preserving. From carefully washing and pitting each cherry to stirring the bubbling mixture, every step requires a certain presence and patience. It’s a chance to unplug from digital distractions and reconnect with traditional kitchen crafts. Many find this return to simpler, unhurried tasks deeply calming and incredibly rewarding. It evokes a sense of nostalgia, taking us back to a time when life felt less complicated, and food was prepared with intention and love. The act of canning, in particular, taps into a primal desire to store away summer’s bounty for leaner months, providing a comforting sense of preparedness and abundance. To delve deeper into this rewarding experience, consider exploring how
Calming & Rewarding: Make Cherry Preserves from Scratch can truly enrich your kitchen life.
Back to Basics: Simple Ingredients, Profound Flavor
One of the most appealing aspects of making cherry jam is its elegant simplicity. You don't need a pantry full of exotic ingredients or complex equipment. At its heart, a classic
cherry jam preserves recipe calls for just three core components: fresh cherries, sugar, and lemon juice. This minimalist approach allows the natural, vibrant flavor of the cherries to truly shine, unobstructed by unnecessary additives. It's a reminder that often, the most extraordinary culinary delights come from the purest and most straightforward combinations.
Your Essential Guide to Crafting Perfect Cherry Jam
Ready to embark on your own jam-making adventure? While the process is straightforward, a few key insights can ensure your homemade
cherry jam preserves turn out perfectly every time.
Key Ingredients for Success
*
Fresh Cherries: The star of the show! Opt for ripe, firm, and blemish-free cherries. Sweet cherries like Bing, Rainier, or Chelan are excellent for a rich, sugary jam, while tart varieties like Montmorency will yield a brighter, more piquant preserve. A blend of both can offer a wonderfully balanced flavor profile. Aim for about 2-3 pounds to start.
*
Granulated Sugar: Sugar isn't just for sweetness; it plays a crucial role in preservation and helping the jam set. The general ratio is typically 1:1 with fruit (by weight), but you can reduce this slightly for less sweet fruit or if using high-pectin cherries. However, don't reduce it too drastically, as it affects the jam's shelf stability and texture.
*
Lemon Juice: This unsung hero serves two vital functions. Firstly, its acidity brightens the flavor of the cherries, preventing the jam from tasting flat or overly sweet. Secondly, and perhaps most importantly, lemon juice provides pectin, a natural gelling agent. Even if your cherries are naturally high in pectin, a splash of lemon juice ensures a proper set.
*
Pectin (Optional but Recommended): Some recipes, especially those using low-pectin fruits or aiming for a quicker set, call for added pectin (either powdered or liquid). This can simplify the process and guarantee a good gel, allowing you to use less sugar if desired. However, many traditional recipes rely solely on the fruit's natural pectin and the addition of lemon juice, requiring a longer cooking time to reach the desired consistency.
Mastering the Jam-Making Process
1.
Preparation is Key: Wash your cherries thoroughly. The most time-consuming part is pitting them. A cherry pitter makes this task quick and efficient, but a small paring knife or even a sturdy straw can work in a pinch. You can leave the cherries whole, halve them, or even roughly chop them, depending on your preferred texture.
2.
Combine and Macerate: In a large, heavy-bottomed pot, combine the pitted cherries, sugar, and lemon juice. Stir gently to coat the fruit. For best results, let the mixture sit for at least an hour (or even overnight in the fridge). This process, called maceration, draws out the fruit's juices, dissolving some of the sugar and kickstarting the pectin release.
3.
Slow Simmer to a Rolling Boil: Over medium heat, stir constantly until the sugar completely dissolves. Then, increase the heat and bring the mixture to a full rolling boil that cannot be stirred down. This intense boil is crucial for activating pectin and evaporating excess liquid.
4.
Test for Set: This is the moment of truth! There are several ways to test if your jam has reached its setting point:
*
Cold Plate Test: Place a small plate in the freezer before you start cooking. When you think the jam is ready, spoon a teaspoon onto the cold plate, return it to the freezer for a minute, then push it with your finger. If the surface wrinkles, it's ready.
*
Temperature Test: Use a candy thermometer. Most jams set around 220°F (104°C) at sea level. Adjust for higher altitudes.
*
Spoon Test: Dip a cold metal spoon into the jam, lift it, and tilt it. If the jam drips off in two distinct drops that merge, it's nearing readiness. If it sheets off in a single, thick "sheet," it's likely set.
5.
Jarring and Sealing: Once the jam reaches its set point, remove it from the heat. Skim off any foam that rises to the surface. Ladle the hot jam into sterilized jars, leaving about ¼ inch of headspace. Wipe the rims clean, place on lids and bands, and process in a boiling water bath for the recommended time (typically 10-15 minutes for half-pint or pint jars). This step creates a vacuum seal, ensuring your jam is shelf-stable for up to a year.
Tips for a Flawless Finish
*
Don't Rush the Boil: Patience is key. Let the jam come to a full, rolling boil gradually to prevent scorching and ensure even cooking.
*
Sterilize Everything: Cleanliness is paramount for preserving. Ensure your jars, lids, and all utensils are thoroughly sterilized to prevent spoilage.
*
Use Wide-Mouthed Jars: They make filling and serving much easier.
*
Small Batches are Best: For beginners, starting with a smaller batch (around 4-6 cups of fruit) is more manageable and yields excellent results.
*
Mind the Foam: Skimming off the foam before jarring makes for a clearer, more aesthetically pleasing jam, though the foam itself is harmless.
Beyond the Toast: Creative Ways to Enjoy Your Cherry Jam Preserves
While nothing beats a dollop of glossy
cherry jam preserves on warm, buttered toast, don't limit its potential! This versatile condiment can elevate countless dishes, transforming everyday meals and treats into something extraordinary. For more ideas on how to transform your daily meals, explore
Beyond Store-Bought: Elevate Toast with Homemade Cherry Jam.
*
Breakfast Bliss: Beyond toast, stir it into oatmeal or yogurt, layer it in parfaits, or swirl it into pancake or waffle batter. It's a game-changer for French toast.
*
Dessert Delights: Drizzle it over vanilla bean ice cream, use it as a filling for tarts, cakes, or thumbprint cookies, or swirl it into cheesecake batter. A cherry crumble or pie becomes even more decadent with a homemade jam base.
*
Savory Surprises: Don't underestimate its savory applications! Cherry jam makes a fantastic glaze for roasted pork or chicken, pairs beautifully with soft cheeses on a charcuterie board, or can be whisked into a vinaigrette for a fruity salad dressing.
*
Beverage Boost: Stir a spoonful into sparkling water for a refreshing cherry spritzer, or add it to a cocktail for a gourmet twist.
*
Baking Magic: Use it as a filling for croissants, pastries, or even a classic peanut butter and jam sandwich, instantly elevating it to gourmet status. For a delightful winter treat, spread it generously between layers of a sponge cake.
Preserving Your Bounty: Canning for Long-Lasting Flavor
For those who want to extend the life of their precious homemade
cherry jam preserves well beyond a few weeks, proper canning is essential. While not strictly necessary if you plan to consume the jam within a month or so and store it in the refrigerator, water bath canning ensures shelf stability for up to a year or more. This process involves filling sterilized jars with hot jam, sealing them with two-piece lids, and then submerging them in boiling water for a specific period. The heat creates a vacuum seal, preventing spoilage. Always follow reputable canning guidelines for processing times and safety measures to ensure your preserves are safe and delicious for months to come.
Conclusion
Making homemade
cherry jam preserves is a rewarding culinary adventure that brings together the best of summer flavors and the comforting practice of self-care. From the vibrant color and intoxicating aroma that fills your kitchen to the unparalleled taste that lingers on your palate, every step of the process is a reminder of the simple joys in life. It's an opportunity to connect with your food, slow down, and create something truly special and nourishing. So, embrace the quiet satisfaction of preserving, and let the sweet, tangy magic of homemade cherry jam transform your everyday moments into a celebration of summer, one delicious spoonful at a time.